How to Draw Fashion Poses: Line of Action, Balance, and Gesture
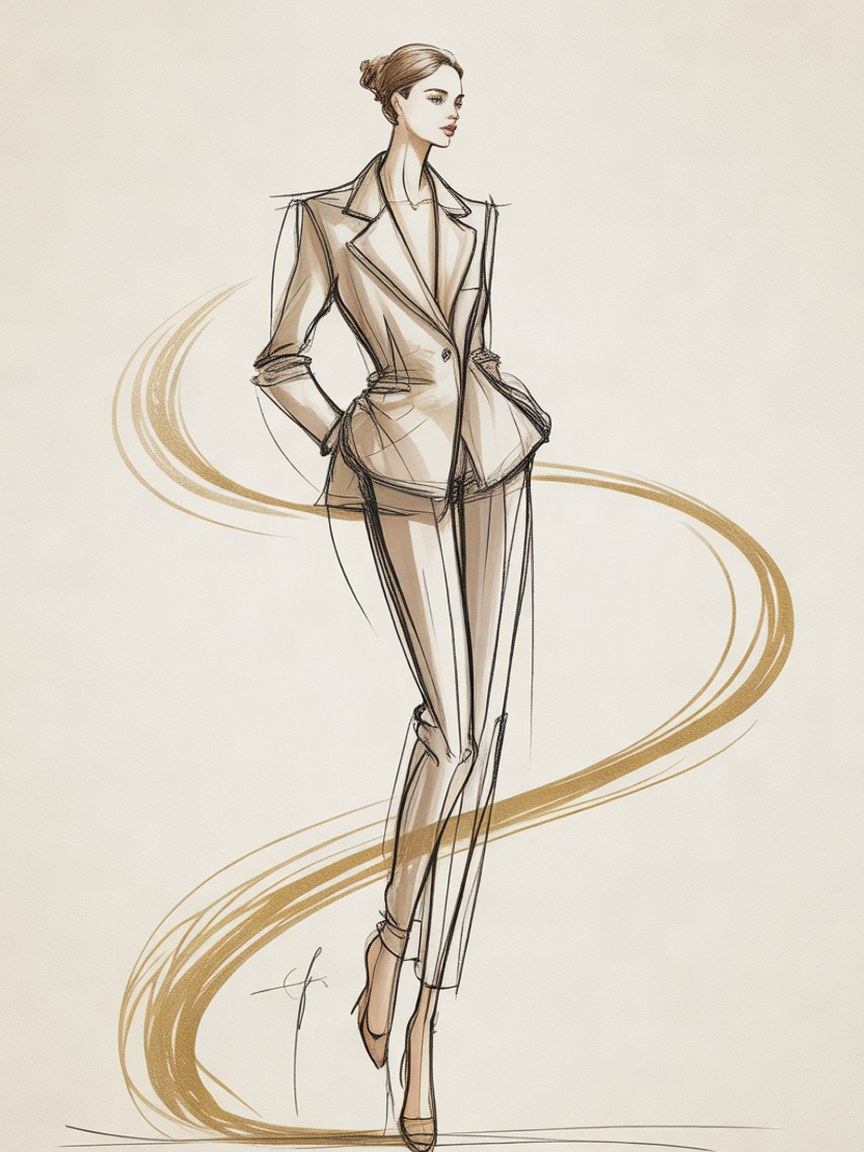
Open any fashion illustrator's sketchbook and you will notice something before you notice the clothes: the figure is alive. Weight sits on one leg, a shoulder drops, the hips answer. A stiff croquis makes even a beautiful dress look like it is hanging on a coat rack. A confident pose makes a simple shirt look like a campaign.
The good news is that pose drawing follows a small set of rules, and they can be learned in an afternoon and refined for a lifetime. This guide walks through the line of action, weight and balance, the shoulder and hip counterbalance, and the habits that keep your poses fresh.
Start with the Line of Action
The line of action is a single flowing curve that runs through the whole figure, usually from the top of the head down through the supporting leg. Draw it first, before any anatomy. It can be a gentle C, a lively S, or a nearly straight diagonal, but it should never be a stiff vertical rod.
A useful test: cover everything except that one line. Does it already suggest movement? If it looks like a ruler line, push it into a curve and try again. Everything you add afterward hangs on this line, so a good one carries the whole drawing.
Three line-of-action shapes to practice:
- The gentle S for classic standing poses and evening wear.
- The C curve for leaning, turning, or windswept poses.
- The long diagonal for striding, runway-style walks.
Weight and the Supporting Leg
Most natural poses balance weight on one leg. Draw a plumb line straight down from the pit of the neck. In a relaxed stance, that line lands on or very near the foot of the supporting leg. If it lands between the feet in a pose that is meant to be a stride, the figure looks stuck. If it lands far outside the feet, the figure looks like it is about to fall over.
The other leg, the free leg, relaxes: the knee bends, the foot turns or steps forward, and the hip on that side drops slightly. This contrast between a straight, working leg and a soft, resting leg is the heart of the classic fashion stance, sometimes called contrapposto.
Counterbalance the Shoulders and Hips
When the hip on the supporting side lifts, the shoulder line tilts the opposite way. Draw two short lines, one through the shoulders and one through the hips, and make sure they are not parallel. Their gentle opposition is what gives a pose its rhythm. Parallel lines read as a mannequin; opposed lines read as a person.
The same idea applies to the arms. If one arm is on the hip, let the other swing free, hold a bag, or rest on the thigh. Matching arms look static, and varying them adds interest without any extra effort.
Work Over a Template, Then Break It
A printed croquis is a training aid: it fixes the proportions so your attention can go to pose and garment. Our 9-head proportion guide explains the underlying system. Once you can draw the standard figure from memory, start bending it. Take the template pose and shift the weight, turn the head, change the arms, and redraw the clothes to match.
For a quick workout, set a timer and complete ten figures in ten minutes. Each pose gets one minute: a line of action, a weight line, shoulder and hip angles, and nothing else. Speed forces you to see the big gesture instead of fussing over details.
Let the Garment Follow the Pose
Clothes respond to the body underneath. A raised arm pulls the sleeve and bodice upward. A bent knee creates folds behind it and tension in front. A hand on the hip gathers fabric into soft pleats. Draw the pose first, then dress it, and the folds will make sense. If you want to go deeper on how cloth behaves in motion, read our guide to capturing flow and draping.
Common Pose Mistakes
- Symmetry: both feet pointing the same way, both arms down. Break it on purpose.
- The stiff neck: a head that sits dead center on the shoulders. Tilt or turn it slightly.
- Tangents: hands or feet that just touch a body outline and make a confusing shape. Overlap them or leave clear space.
- Over-twisting: poses a real body could not hold. If you cannot stand in it, rethink it.
- Hiding the garment: a pose that folds an arm across the best detail. Pose to showcase the design.
Build a Pose Library
Keep a dedicated page or sketchbook for poses you love. Study photographs from lookbooks and runway coverage, and reduce each to a line of action and a weight line in thirty seconds. You are not copying a person; you are collecting solutions. Within a month you will have dozens of go-to poses and the confidence to invent your own. When you are ready to present your work, our post on building a portfolio from scratch shows how to sequence them.
Recommended Supplies for Gesture Drawing
For Fast Gesture Lines
Prismacolor Col-Erase Pencils (24-pack) glide quickly and erase cleanly, ideal for finding the line of action.
For Confident Final Lines
Sakura Pigma Micron Set (6 pens) lets you ink the finished pose with varied line weights.
For Soft Construction
Staedtler Mars Lumograph 12-set offers soft grades for loose, expressive gesture work.
For Practice Volume
Canson XL Mix Media Pad is affordable enough to fill with ten-minute pose drills without worrying about waste.
Practice Poses on Ready-Made Templates
Our Fashion Croquis Template Sketchbook: Paris Edition gives you 300 pages of light grey 9-head figure templates with scenic Paris backgrounds. Trace, bend, and restyle the pose, then dress it in your own designs.
Get the Paris EditionSome links above are affiliate links. If you purchase through them, we may earn a small commission at no extra cost to you. We only recommend products we genuinely use or believe in.