How to Sketch Fashion Flats: The Technical Drawing Every Designer Needs
If you spend most of your time drawing dramatic nine-head figures on the runway, fashion flats can feel like a detour. But ask any fashion design student who has survived a portfolio review, or any freelancer who has pitched to a brand, and they will tell you the same thing: flats get you hired.
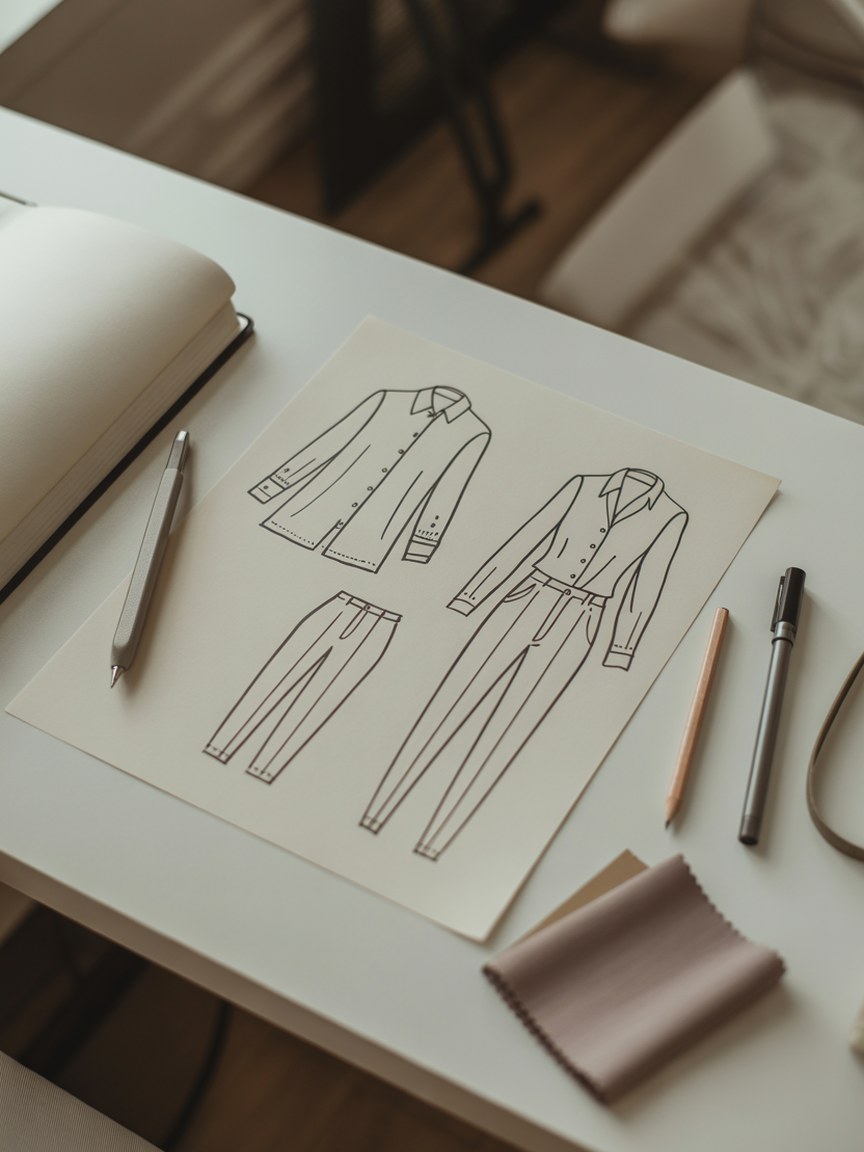
A fashion flat (also called a technical flat or spec drawing) is a front-facing, symmetrical sketch of a garment as if it were laid on a table. No body, no attitude, no exaggerated pose. Just the clothes, drawn to accurate proportion, showing every seam, pocket, button, and stitch detail. It is the universal language of the fashion industry: the drawing a pattern maker reads, a factory quotes from, and a buyer scans in a line sheet.
Here is how to get comfortable drawing them.
Start with a Half-Template and Mirror It
The fastest way to draw a clean flat is to sketch only the left half of the garment and then fold your paper to mirror it. This guarantees symmetry every time, and symmetry is the single most visible marker of a professional flat. If you are working digitally, draw one side, duplicate the layer, and flip it horizontally.
For beginners, it helps to trace a basic flat template first. A classic shirt template or trouser block gives you the right shoulder width, sleeve drop, and hem length to work from. Once your eye is trained to those proportions, you will stop needing the template.
A quick setup that works on paper:
- Draw a light vertical center line first. Every flat hangs off this spine.
- Mark the key horizontals: shoulder line, chest line, waist, hip, and hem. Ticks are enough.
- Draw the left half of the garment against those guides in light pencil.
- Fold along the center line and rub through, or trace the mirrored half on a window or light box.
- Ink the full outline only once both halves match.
Proportion Rules to Memorize
Unlike a fashion croquis, where you are free to stretch the figure to eight or nine heads (see our 9-head proportion guide for how that system works), flats follow real-world garment proportions. A few anchors to keep in mind:
- Shoulder width is roughly twice the collar width on a standard shirt.
- Sleeve length on a full-length jacket reaches just past the hip on a flat.
- Trouser inseam is approximately equal to the rise plus the outseam, not longer.
- Collar height rarely exceeds 1.5 cm in a flat drawing unless it is a high funnel neck.
When in doubt, hold up a real garment and observe. Lay a shirt flat on a table and measure the relationships with your eye: how wide is the collar against the shoulders, where does the cuff land against the hem. Your eye will calibrate faster than any rulebook.
Line Weight Is Everything
A flat drawn with a single uniform line looks flat in the wrong way. Use three line weights:
- Heavy outer contour for the garment silhouette
- Medium lines for seams, panels, and pocket placement
- Fine lines for topstitching, pleats, and fabric texture
This hierarchy makes your flat readable at a glance, even when it is shrunk down on a tech pack page. A graduated pen set makes this effortless: a Sakura Pigma Micron set gives you an 08 for silhouettes, an 03 for seams, and a 005 for stitch detail without ever switching tools mid-thought. Draw topstitching as a fine dashed line just inside the seam it follows; that one convention instantly makes a flat read as professional.
Details That Designers Actually Check
Reviewers and production teams zoom in on the parts that are hardest to manufacture. Make sure you draw these with care:
- Collar and lapel shape: exact roll line and notch placement
- Button and buttonhole alignment with clear, even spacing
- Pocket angles, especially welt and patch pockets
- Zipper type indicated by a note or symbol
- Cuff construction on sleeves
If a detail is ambiguous in your flat, it will be wrong in the sample. That is the mindset shift flats demand: you are not drawing an impression of a garment, you are writing instructions for one.
Do Not Forget the Back View
Every professional flat travels as a pair: front view and back view, drawn at the same scale and aligned side by side. The back view is where yokes, darts, vents, and back pockets live, and it is often where a factory finds its questions. Draw the front first, then reuse the same silhouette for the back and change only the internal construction lines. Keeping the outline identical between views is exactly what the half-template mirror trick is for.
From Flat to Full Portfolio Page
A strong portfolio presents the flat alongside the fashion illustration, not instead of it. The croquis shows mood and movement; the flat shows construction. Together they tell a complete story about the garment.
Lay them out side by side: illustration on the left, front and back flats on the right. Add a small fabric swatch note and a color palette block. That single page communicates what the garment looks like, how it is built, and what it is made from. If you are assembling your first book, our guide on becoming a fashion illustrator covers how reviewers read a portfolio page.
Practice Makes the Pen Confident
The honest truth about flats: the first twenty you draw will feel stiff and awkward. That is normal. Unlike expressive croquis drawing, flats reward repetition and muscle memory more than artistic flair. Set aside ten minutes a day to redraw a single garment type until the proportions feel automatic.
Start with a classic white button-down shirt. It has every construction detail you will ever need to learn: collar and stand, plackets, cuffs, yoke, and topstitching, and it never goes out of fashion. When the shirt feels easy, move to a trouser block, then a tailored jacket. Those three blocks cover most of what any tech pack will ever ask of you.
Recommended Supplies for Drawing Flats
For the Three Line Weights
Sakura Pigma Micron Set (6 pens) in graduated sizes covers the heavy contour, medium seam lines, and fine topstitching detail that give a flat its hierarchy.
For Under-Drawing
Prismacolor Col-Erase Pencils (24-pack) lay down light, erasable guides for your center line and horizontals, so the ink pass stays clean.
For Precise Pencil Work
Staedtler Mars Lumograph 12-set gives you the harder grades (2H, 4H) that hold a crisp point for accurate construction lines.
For Paper That Takes Ink
Canson XL Mix Media Pad is smooth enough for fine liner work and heavy enough to survive erasing your under-drawing.
Build the Figure Skills Behind Your Flats
Our Fashion Croquis Template Sketchbook: Paris Edition gives you 300 pages of light grey 9-head figure templates with scenic Paris backgrounds. Design the garment on the croquis, then spec it as a flat.
Get the Paris EditionSome links above are affiliate links. If you purchase through them, we may earn a small commission at no extra cost to you. We only recommend products we genuinely use or believe in.