How to Draw Fashion Accessories: Bags, Shoes, and Jewelry That Complete the Look
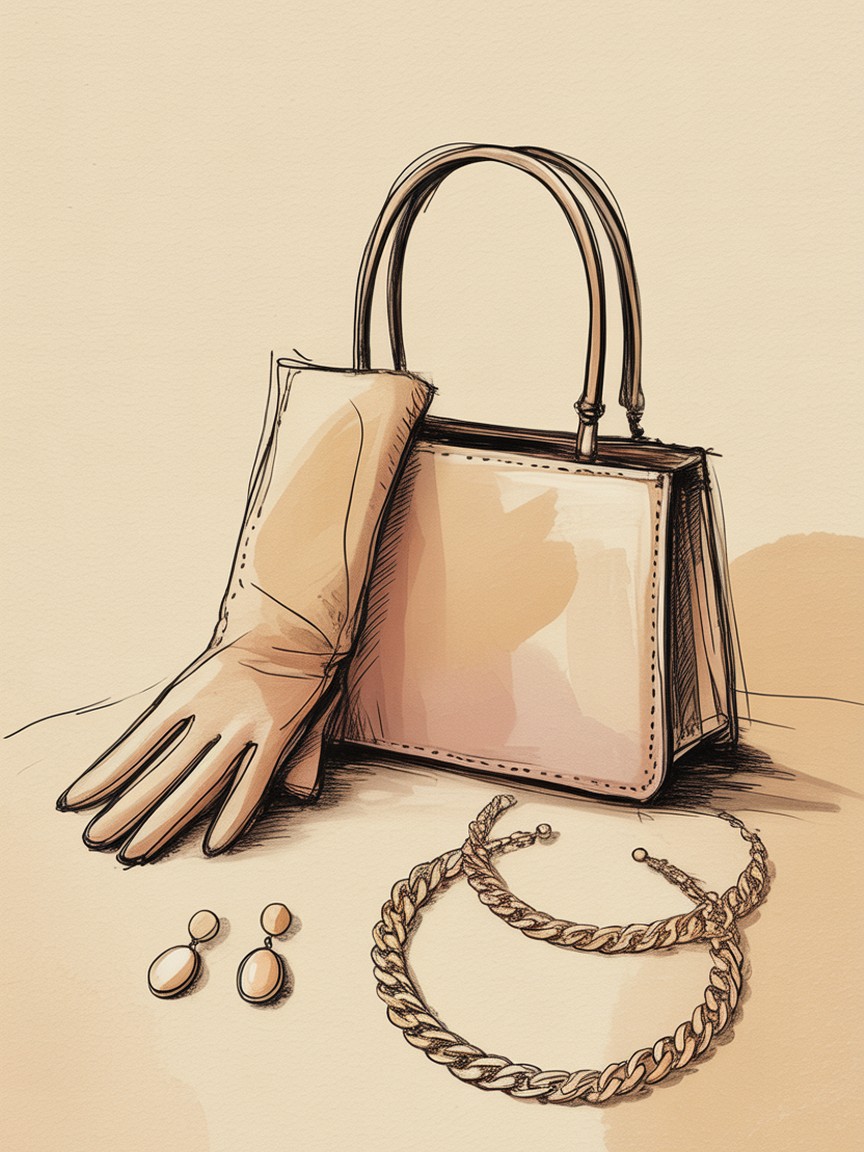
A gorgeous croquis can still fall flat at the finish line. You have nailed the pose, the garment drapes beautifully, the proportions read as effortless, and then the hand holding the bag looks like it is gripping a brick, or the shoe underneath the hem looks like a slipper instead of a stiletto. Accessories are the last five percent of a fashion illustration, and they are often the five percent that makes a portfolio page look amateur or professional.
The good news is that accessories follow their own small, learnable rules. They are not an afterthought you rush through after the figure is done. Treat them as their own drawing problem, and they will stop undermining your best work.
Bags: Build the Structure Before the Style
Every handbag, no matter how ornate, starts as a simple geometric volume. A tote is a rectangular box. A saddle bag is a rounded trapezoid. A bucket bag is a cylinder. Before you draw a single stitch or hardware detail, block in that underlying shape lightly in pencil. This single habit fixes the most common bag-drawing mistake: bags that look flat, like a sticker pasted onto the figure instead of an object with weight hanging in three-dimensional space.
Once the volume is blocked in, add these details in order:
- The strap first. Decide whether it is a short handle, a crossbody strap, or a chain, and draw the exact angle it makes against the body. A strap drawn at the wrong angle is the fastest way to make a bag look like it is floating rather than hanging.
- The silhouette edge. Draw the outer contour with a slightly heavier line than the figure underneath it. A bag sits in front of the body, and line weight is how your eye tells the difference between what is near and what is behind.
- Hardware last. Zippers, clasps, and buckles are small and easy to overdraw. Place them with a light dot first to confirm scale, then commit to the shape.
Watch the shadow the bag casts on the garment or the body beneath it. Even a small, soft shadow along the bottom edge of a bag reads instantly as weight and grounds the object in the scene instead of letting it hover.
Shoes: Perspective Is the Whole Problem
Shoes fail more often from perspective errors than from any other cause. A shoe drawn from a three-quarter angle needs to follow the same vanishing logic as the leg above it, and most illustrators draw the foot from a slightly different angle than the leg without realizing it. The fix is to always draw the shoe as an extension of the leg's angle, not as a separate object added afterward.
A few anchors that make heeled shoes read correctly:
- The heel is a wedge, not a stick. Even a thin stiletto heel has width and a slight taper. Draw it as a narrow triangle, not a single line, or it will look like it cannot support weight.
- The arch breaks the foot into two planes. The front of the foot (the vamp) and the heel counter meet at the arch, and that break needs to show even under a covered shoe. Without it, the foot looks boneless.
- The sole line is your ground reference. A thin line indicating the sole, even if barely visible, tells the viewer exactly where the foot meets the floor and keeps the whole pose from looking like it is floating.
For flats and sneakers, the same logic applies in reverse: keep the sole thicker and flatter, and let the toe box read as a rounder, softer volume than a pointed pump.
Jewelry: Less Line, More Suggestion
Jewelry is the accessory illustrators most often overdraw. A necklace outlined in the same heavy line as a coat collar will look like a piece of wire, not gold. The trick is restraint: jewelry reads as delicate when you draw less of it, not more.
For chains and delicate necklaces, use your finest liner and draw only the parts of the chain that catch light, letting the rest dissolve into the skin or fabric beneath it. For statement earrings or cuffs, block in the overall shape with a light pencil first, then commit only the outer contour and a single interior highlight in ink. The negative space around a piece of jewelry does as much work as the ink itself.
A single well-placed dot of white gouache or a white gel pen at the highest point of a bead, stone, or metal link is often all it takes to sell "jewelry" instead of "line drawing of jewelry." Save that highlight for last, after the rest of the piece is dry.
The Shine Technique That Sells Metal and Leather
Metal hardware, patent leather, and polished shoes all share one rendering trick: a sharp, high-contrast highlight against a darker mid-tone. Shine is not soft and gradual like fabric folds. It is abrupt.
- Lay down a mid-tone base color across the whole object first, whether that is gold, silver, or glossy leather. Do not leave any white paper showing yet.
- Add a darker shadow tone along the edges and in any recessed detail, like the inside of a buckle or the crease where a strap folds.
- Reserve one crisp, small highlight, either lifted paper or added last in opaque white, exactly where the light source would hit hardest. Keep the edge of that highlight sharp, not blended.
That sharp-edged highlight against a blended shadow is what separates matte fabric from something reflective. It is the same principle whether you are rendering a leather bag, a patent pump, or a rhinestone clasp: soft everywhere except one deliberate point of contrast. For the leather-specific version of this technique applied to a full garment, our guide on rendering fabric textures walks through the same shadow-and-highlight logic in more depth.
Scale: The Detail Everyone Gets Wrong
On a stretched nine-head croquis figure (see our 9-head proportion guide if that system is new to you), accessories need to scale up proportionally with the elongated figure, not stay life-size. A bag that would sit comfortably at a model's hip in real life often needs to be drawn slightly larger than "realistic" to avoid looking like a child's accessory against nine heads of elongated leg and torso.
A quick gut check: hold your drawing at arm's length. If the bag, shoes, or jewelry look dinky next to the figure, they are almost always too small rather than too large. Illustrators trained on realistic proportion tend to under-scale accessories out of habit. Give yourself permission to go slightly bigger than instinct suggests.
Common Mistakes to Avoid
- Drawing the strap after the bag body. This almost always produces the wrong angle. Strap first, always.
- Symmetrical earrings drawn identically. Unless the pose is perfectly front-facing, the far earring should be slightly smaller and less detailed than the near one, following basic perspective.
- No cast shadow under shoes. Even a light, single-stroke shadow beneath the sole keeps the figure from looking like it is levitating.
- Overworking the shine. One clean highlight beats five scattered ones. If it looks busy, remove highlights until only the strongest one remains.
Practice Approach
Keep a small sketchbook page dedicated only to accessories: a page of bag straps at different angles, a page of heel shapes from different views, a page of jewelry clasps and chain links. Because accessories are small and quick to draw, you can fit a dozen studies on a single page in the time it takes to draw one full figure. That repetition builds the same kind of automatic hand memory that flats and gesture drawing do, so that by the time you add a bag to a finished illustration, you are not solving the structure for the first time under pressure.
Recommended Supplies for Drawing Accessories
For Fine Chain and Jewelry Detail
Sakura Pigma Micron Set (6 pens) gives you the 005 and 01 tips needed to draw delicate chains and clasps without the line going heavy.
For Leather and Metal Shading
Prismacolor Premier Colored Pencils (72-set) blend smoothly for the graduated mid-tones that sell polished leather and brushed metal.
For the Final Highlight
HIMI Gouache Set (24 colors) includes an opaque white that sits crisply on top of ink or marker for the single sharp highlight that sells shine.
For Mixed Media Work
Canson XL Mix Media Pad handles ink, marker, and a light gouache highlight on the same page without buckling.
Give Your Accessories a Figure Worth Dressing
Our Fashion Croquis Template Sketchbook: Paris Edition gives you 300 pages of light grey 9-head figure templates with scenic Paris backgrounds. Sketch the look, then bring it home with the bag, the shoes, and the jewelry.
Get the Paris EditionSome links above are affiliate links. If you purchase through them, we may earn a small commission at no extra cost to you. We only recommend products we genuinely use or believe in.